You’ve had the conversations. You’ve sat with your parent, listened to their stories, laughed at things you’d never heard before, and maybe felt a lump in your throat once or twice. Now you’ve got a recording on your phone, a notebook full of scribbled details, and a question: what do I do with all of this?
This guide is about how to write a family biography – turning that raw material, the recordings, the notes, the memories still fresh in your mind, into something your family can hold onto. If you haven’t had those conversations yet, start with our guide to interviewing your parents about their life. If you’re already sitting on hours of stories and wondering where to begin, you’re in the right place.
You don’t need to be a writer. You don’t need special software. You just need the willingness to sit with someone’s story and shape it into something others can read.
What a Family Biography Actually Is
Let’s clear something up straight away: a family biography is not a published book. It’s not a formal historical document. It’s not something that needs an ISBN, an editor, or a literary agent.
A family biography is your parent’s story – or your grandparent’s, or your family’s – written down in a form that your family can keep, read, and pass along. That might be a printed booklet, a shared Google Doc, or twenty pages stapled together with a photo on the front. Even a short family biography is valuable – the format matters far less than the fact that it exists.
Think of it as a letter from one generation to the next. It captures a voice, a life, a personality – the things that photographs alone can’t hold. It says: this is who they were. This is what they lived through. This is what mattered to them.
There’s no standard length, no required structure, no exam at the end. If it tells someone’s story in a way that feels true, it’s doing its job.
Organising Your Material
Before you write a single sentence, spend some time with what you’ve gathered. This step isn’t glamorous, but it makes everything that follows much easier.
Listen Back and Take Notes
If you recorded your conversations, listen through them with a notebook nearby. You don’t need to transcribe everything word for word at this stage. Instead, note down:
- Key stories – the ones that made you laugh, made you think, or surprised you
- Recurring themes – did they keep coming back to a particular place, person, or period?
- Vivid details – specific phrases, descriptions, or moments that felt alive
- Timeline markers – dates, ages, events that help you place things in order
As you listen, jot down timestamps next to each story: “14:32 – first job at the factory” or “28:15 – how they met Mum.” This saves you hunting through hours of audio later.
If you took handwritten notes, read through them while the memory is fresh. Add anything you remember that you didn’t write down – the way they described their childhood home, the expression on their face when they talked about a particular moment.
Identify the Threads
Once you’ve been through your material, you’ll start to see patterns. Most lives have natural threads – relationships, places, work, values, turning points. Make a rough list of the major themes you can see emerging. You’re looking for the shape of the story, not its final structure.
Create a Rough Timeline
Even if you don’t write chronologically, a basic timeline helps you understand the shape of someone’s life. Just the major events and roughly when they happened:
- Born 1952, Sheffield
- Family moved to Leeds, age 7
- Left school at 16, started apprenticeship
- Met Jean at a dance, 1973
- Married 1975
This becomes your reference map when you need to check the order of events later.
Choosing Your Approach
There’s no single correct way to structure a family biography. Here are three common options.
Chronological: Life in Order
Start at the beginning and move forward through time. This is the most straightforward structure and the easiest to organise. It works well when the person’s life had distinct chapters or phases.
You don’t have to open with “They were born on the 14th of March, 1948.” Here’s an example of how even a chronological biography can start with a compelling moment: “The day Jean walked into the dance hall in Barnsley, she had no idea she was about to meet the person she’d spend the next fifty years with. But we’re getting ahead of ourselves.”
Thematic: Chapters by Topic
Organise around themes – childhood, work, love, family, values – rather than following a timeline. Each chapter explores one aspect of their life, drawing from different periods. This works well when you have rich material on some topics but gaps in others.
Interview-Based Narrative: Preserving the Q&A Voice
Use their words – direct quotes, edited for clarity – as the backbone of the story, with your narration providing context. This works well when the person has a distinctive speaking voice and you have strong recordings.
Not Sure?
Start with chronological. You can always rearrange later. Many family biographies blend approaches – a broadly chronological structure with thematic chapters woven in and direct quotes throughout. Don’t feel locked into one method. For family biography examples showing each approach in action, see our examples and templates guide.
Finding the Voice
One of the most important decisions is whose voice tells the story. This shapes how the entire biography reads and feels.
First person – written as if the subject is speaking. “I grew up in a terraced house on Park Street. There were five of us kids and one bathroom, and I still remember the arguments on school mornings.” This feels immediate and personal. It works beautifully when you have strong recordings and a distinctive speaker.
Third person – you narrating their story. “Margaret grew up in a terraced house on Park Street. The youngest of five, she learned early that if you wanted the bathroom on a school morning, you had to be up before everyone else.” This gives you more flexibility to add context and move between time periods.
Mixed – third-person narration with first-person quotes woven in. “Margaret rarely talked about the war years, but when she did, her voice always softened. ‘We didn’t know it was hard at the time,’ she told me. ‘It was just life. You got on with it.’” This is often the most natural choice for biographies built from recorded conversations.
Whatever voice you choose, the goal is the same: when someone reads this biography, they should feel like they’re hearing from the person it’s about. Pay attention to how they spoke, not just what they said. Did they use particular phrases? Were they understated, dramatic, funny? When you find yourself writing a sentence and thinking “they’d never say it that way,” trust that instinct.
Writing It
This is the part that stops most people. The blank page. The blinking cursor. Here’s the good news: you already have everything you need. You have the stories. You just need to put them on the page.
Starting Strong
Your opening doesn’t need to be dramatic or literary. It just needs to be interesting. Some approaches that work:
-
A specific moment. “The photograph shows a young man standing outside a chip shop in Southend, squinting into the sun. He’s wearing a suit that doesn’t quite fit and grinning like he’s got away with something. That man is my dad, and he was nineteen years old.”
-
A characteristic detail. “My grandmother kept a biscuit tin on the top shelf of the pantry that she said was for emergencies. In sixty years, the emergency never arrived, but the biscuits were always fresh.”
-
A question. “What do you do when you’re seventeen, your father’s just died, and someone offers you a job on a fishing boat heading for Iceland?”
Don’t agonise over the opening. Write something, keep going, and refine it later.
Handling the Middle
The middle is where most of the story lives, and where writers often lose momentum.
- Write in sections, not in one sitting. A chapter about childhood one evening, their working life another. Give yourself permission to take your time.
- Follow energy, not order. Write the parts that excite you first. You can arrange sections later.
- Use stories, not summaries. Instead of “He worked at the factory for thirty years,” write about a specific day, a particular colleague, a moment that captures what those years felt like.
- Include sensory details. What did the kitchen smell like? What song was on the radio? These small details bring a biography to life in a way that dates and facts alone never can.
Ending Meaningfully
The ending doesn’t need to be grand. It needs to feel true. You might end with their own words – a quote that captures something essential about who they are. Or with a reflection on what their story means to your family. Or with a moment from a recent visit that connects past to present.
What you want to avoid is an ending that feels like it just stops. A brief paragraph that ties things together or circles back to where the biography began gives the reader a sense of completeness.
Working with Recordings
If your biography is built from recorded conversations, you’ll need to turn spoken words into written ones.
Transcription Options
- Transcribe it yourself. Time-consuming but thorough. Budget roughly four hours for every one hour of recording.
- Use an automated service. Tools like Otter.ai or Rev produce a rough text version that you then correct. Automated transcription struggles with accents and mumbled speech, but it gives you a starting point. For a deeper look at what’s available, see our guide to StoryWorth alternatives.
- Hybrid approach. Run the recording through an automated tool first, then listen through and correct. Often the most efficient method.
Using Quotes Effectively
Direct quotes bring the person’s voice into the text in a way narration alone can’t match. But not every quote works equally well on the page.
Use direct quotes when the person says something in a way only they would say it, or when the moment is emotional or revealing. Paraphrase when they’re giving factual information you can convey more clearly, or when the spoken version is repetitive.
It’s perfectly acceptable to tidy up a quote – removing “um” and “you know,” smoothing a sentence that trailed off – as long as you preserve the meaning and the voice. The goal is readability, not a court transcript.
What to Include and What to Leave Out
You can’t include everything, and you shouldn’t try. A biography that captures every detail of a life ends up capturing the spirit of none of it. Editing is an act of care, not an act of removal.
Keep:
- Stories that reveal character – not just what happened, but how they responded and what it shows about who they are
- Moments that connect generations – stories your children or grandchildren will recognise themselves in
- Turning points – the decisions and encounters that changed the direction of their life
- The small things – the way they buttered toast to the very edge, the phrase they used when something surprised them, the walk they took every Sunday morning
Leave out:
- Repetition – if the same story was told three different ways, choose the best version
- Details that don’t serve the story – not every job or address needs recording
- Things they’d want kept private – if they told you something in confidence, or including it might hurt someone still living, leave it out. A family biography is a gift, not an expose
When you’re not sure, ask yourself: if this person read this biography, would they feel seen and honoured by it? If a particular passage makes you hesitate, trust that instinct.
Formatting and Sharing
You’ve written the biography. Now you want to turn it into something your family can hold, read, and share. This doesn’t need to be expensive or complicated.
- A printed document. Format it in a word processor, add a title page and photos, print it at home or a local print shop. Even a simple bound cover gives it a sense of being a finished thing.
- A photo book service. Blurb, Mixbook, and Shutterfly let you combine text and images into a professionally printed book, typically costing ten to thirty pounds per copy.
- A PDF. Share it digitally with family members, especially useful when family is spread across different countries.
- A shared document. A Google Doc lets family members read, comment, and contribute additional stories – a living document that grows over time.
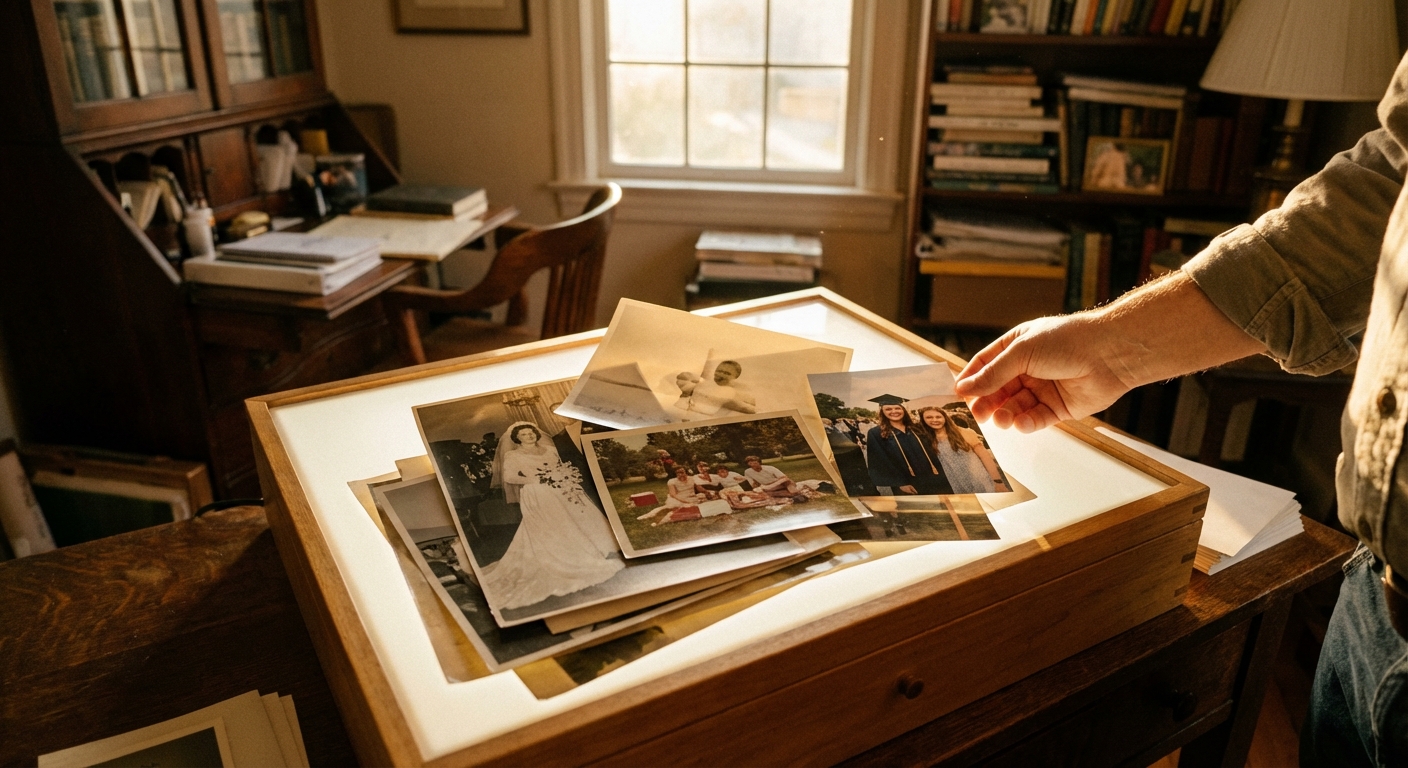
If you have family photographs, weave them into the biography near the stories they relate to. A slightly blurry photo from the 1970s carries more emotional weight than a professional portrait. A brief caption is all you need: “Dad outside the shop on Hanover Street, 1968.”
Think about who would value a copy – siblings, children, grandchildren, close family friends. Even five or ten copies means the story is held in multiple hands, multiple homes. It’s no longer just a file on your computer. It’s part of your family’s physical world.
The Biography Doesn’t Need to Be Perfect
This is worth saying plainly: your family biography does not need to be a work of literature. It needs to be honest, warm, and finished.
A completed biography with rough edges is infinitely more valuable than a perfect biography that never gets written. Your family won’t notice the split infinitives. They’ll notice that someone cared enough to sit with these stories and write them down.
If you’re stuck, write badly. Write a version that feels clumsy and unpolished. Put it away for a week and come back to it. You’ll find it’s better than you thought, and the parts that need work will be obvious.
The hardest part isn’t the writing. It’s giving yourself permission to be the person who writes it – even if you’ve never written anything longer than an email. You don’t need credentials. You need the stories, and you already have those.
Start. Finish. Share it. That’s what matters.
This article is part of a series:
- How to interview your parents about their life – capturing the stories
- How to write a family biography – you’re here
- Best StoryWorth alternatives – choosing the right tools to help
Want help turning conversations into a biography? Willow guides you through the whole process – from guided interview prompts to a beautifully written life story. Start your free trial – no credit card required.
Leave a Reply